Easy Easter Illusions for Kids
by Amy Bell, Group Bookings Coordinator
Looking for something creative and fun to do with the kids this Easter Weekend? Well, look no further, as we’ve put together a collection of illusions for kids of all ages to try.
3D Bunny
Let’s start with a nice and simple one, creating a 3d bunny. All you will need is a piece of paper (plain or lined), a pencil, marker pen of your choice and an eraser.
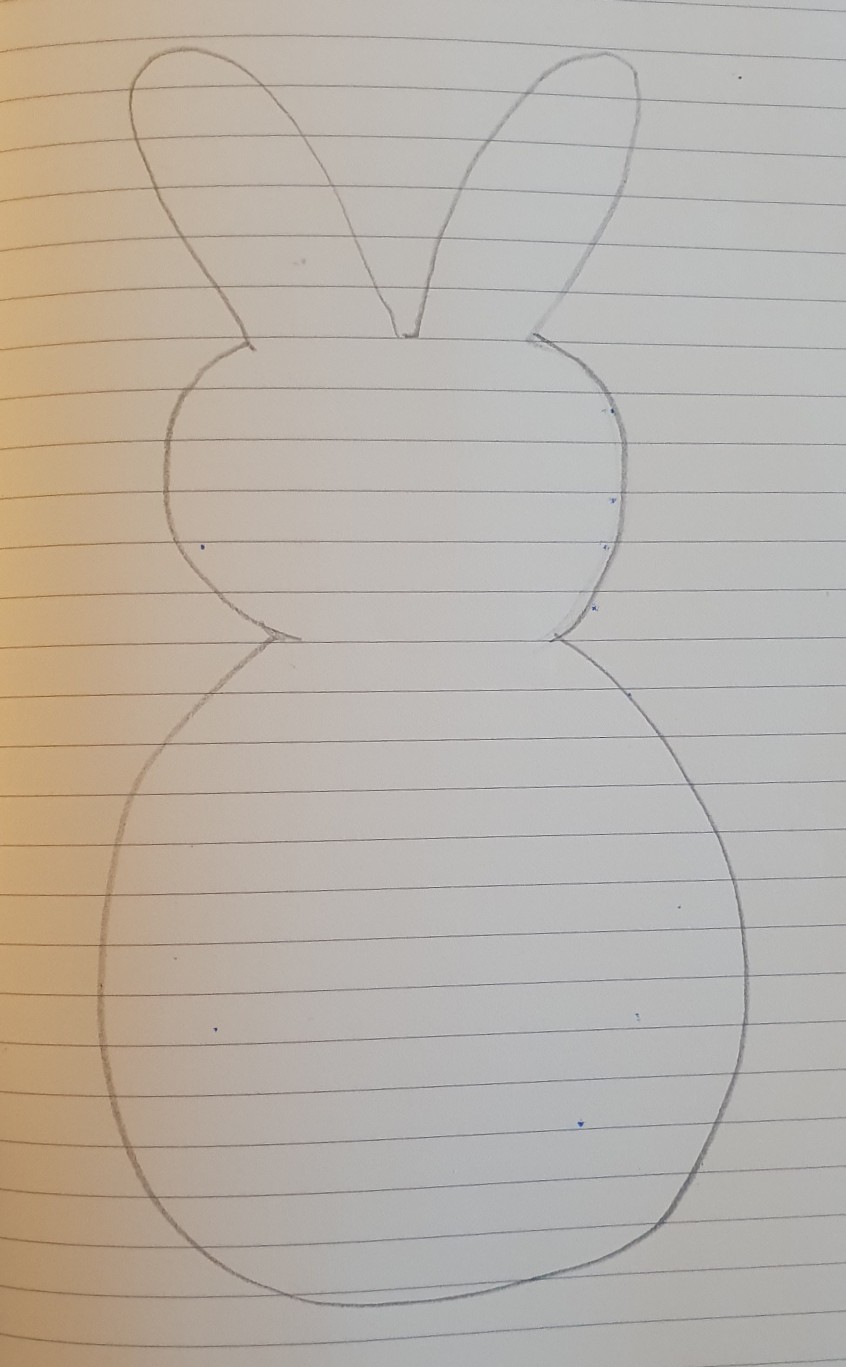
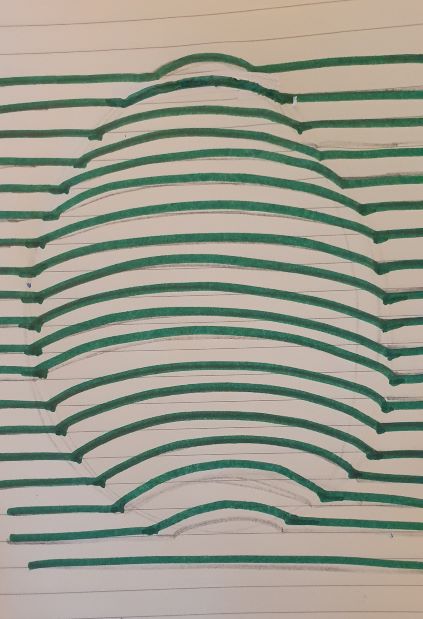
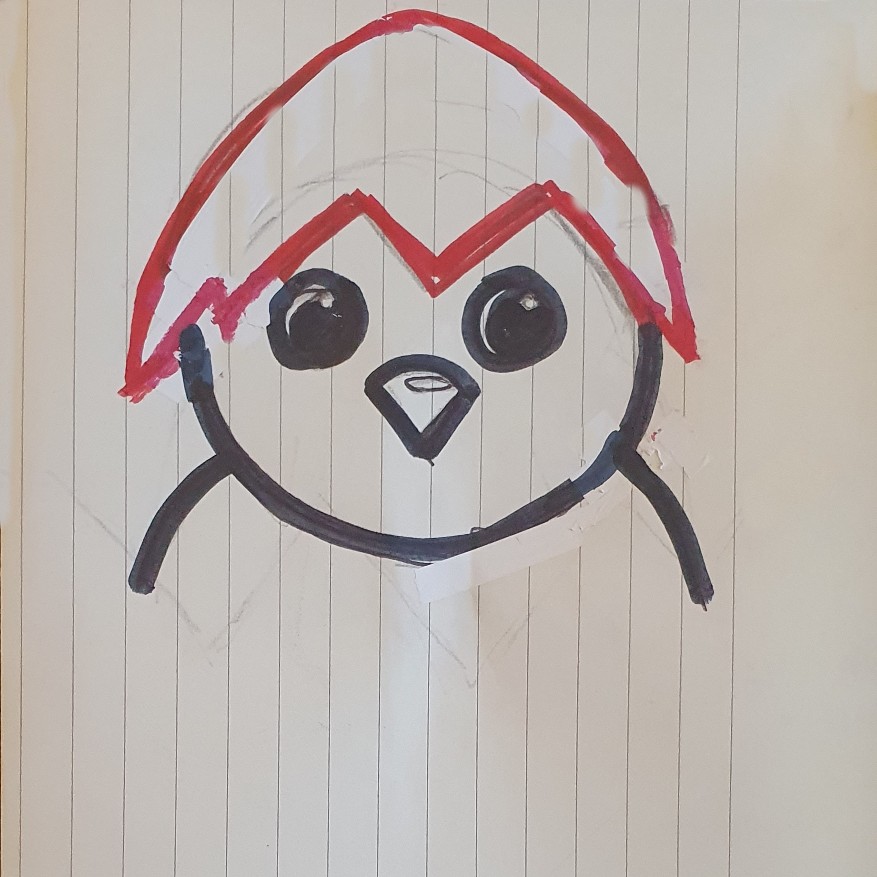
- Start by drawing the outline of your bunny in pencil.
- Then use your marker to draw lines across your bunny, making sure to curve the ones that go within your outline until you reach the bottom.
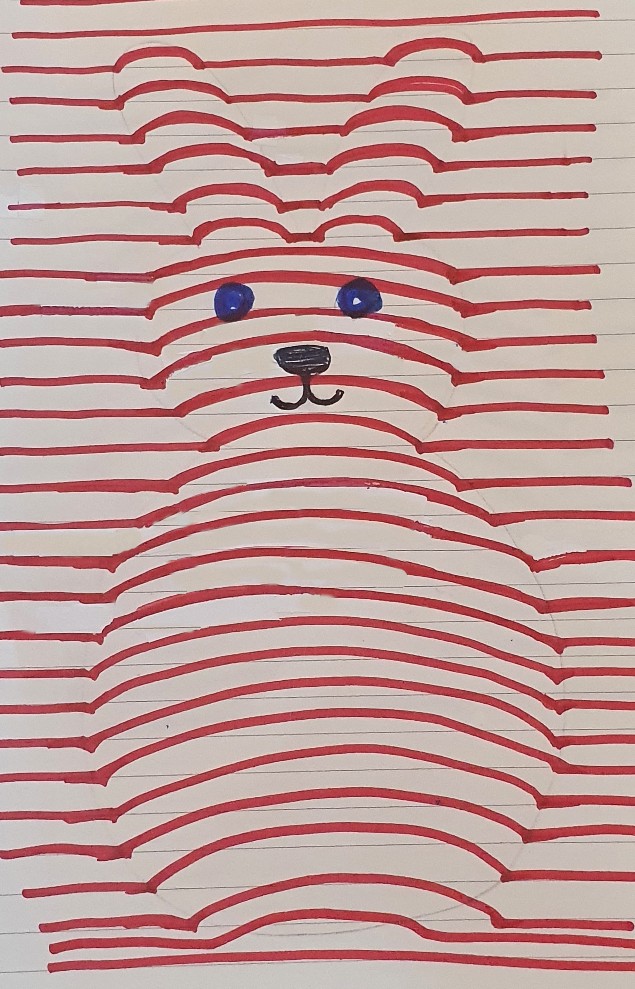
- Then you just need to erase your original pencil lines, add a face, and you’re done!
1.  2a.
2a.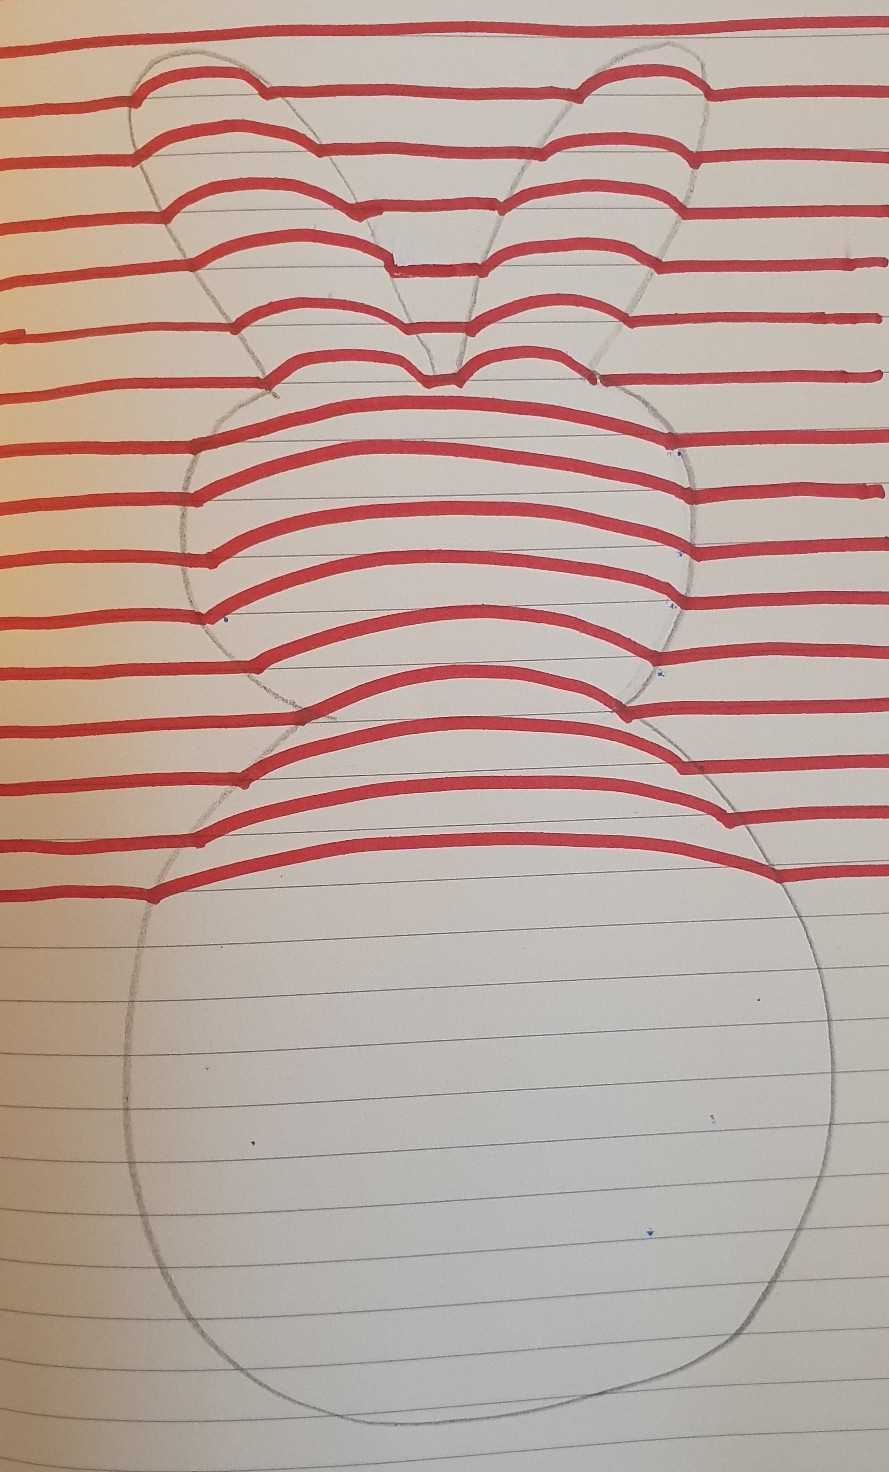 2b.
2b.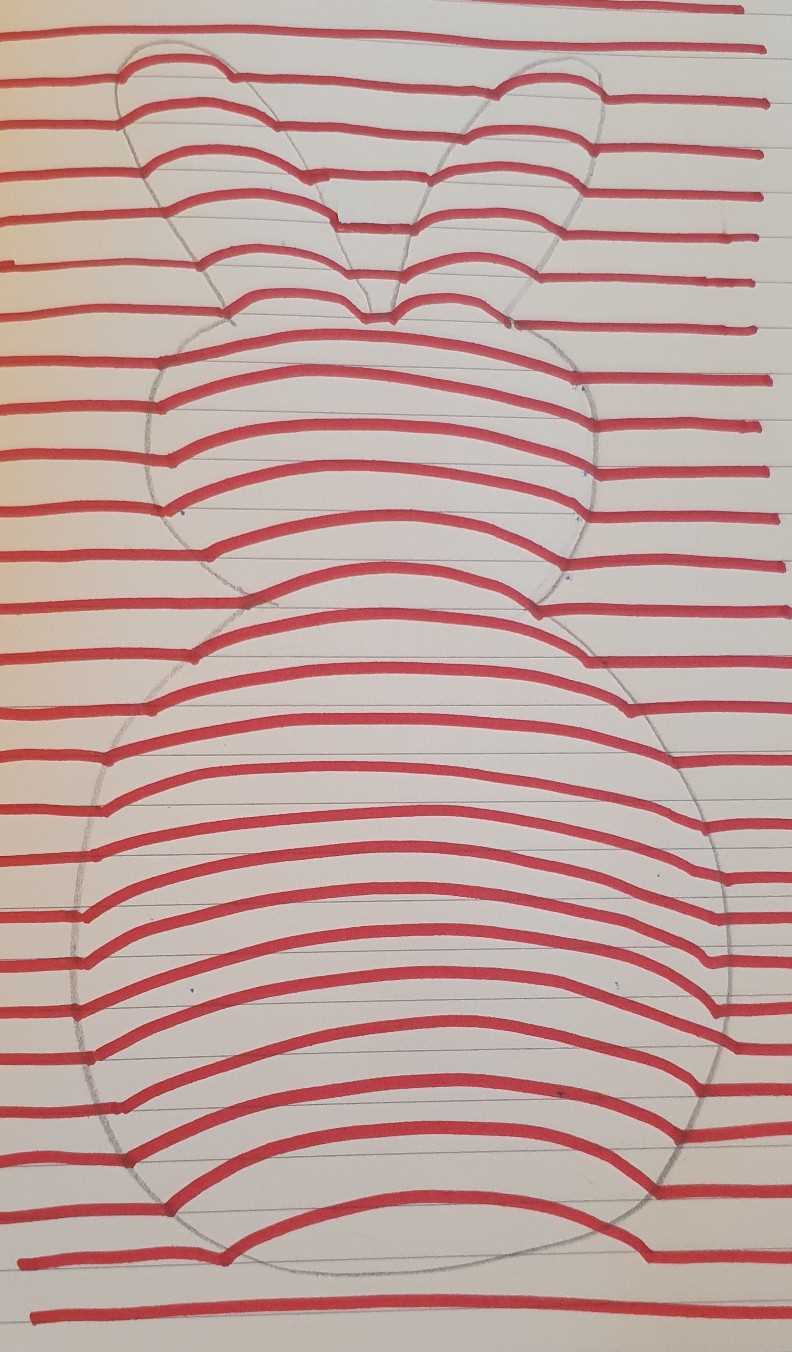 3.
3.
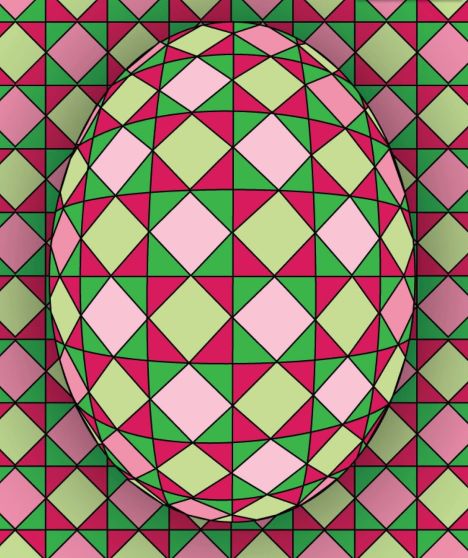
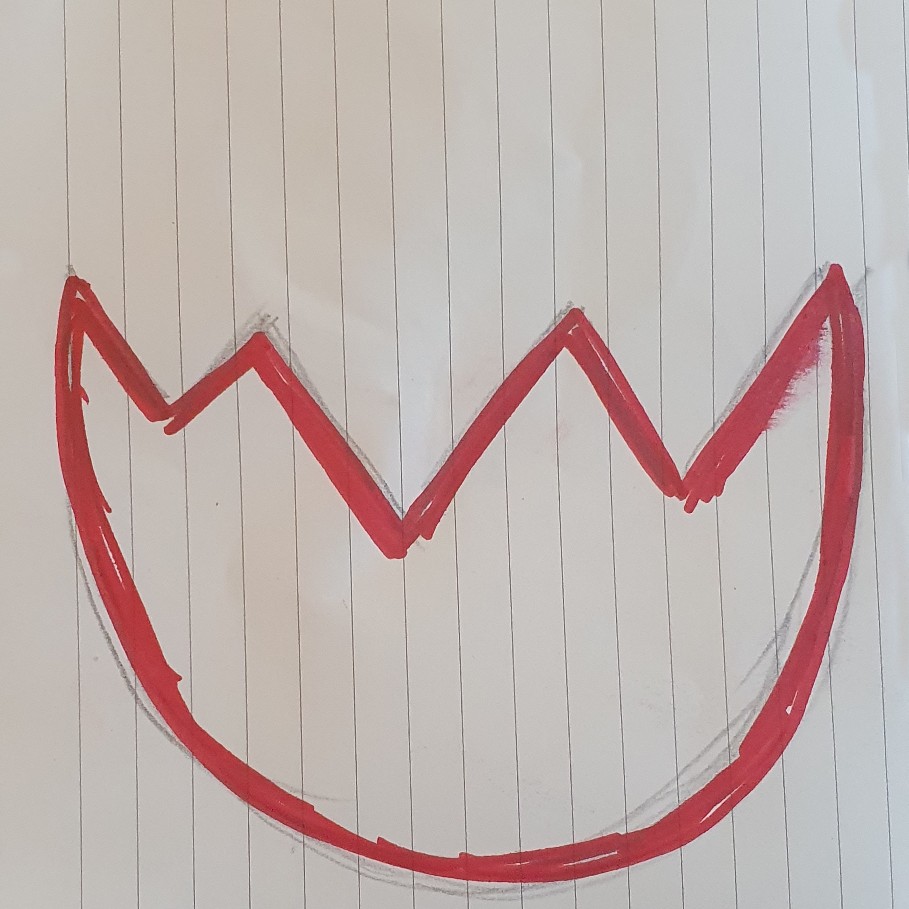
You could even try it with a different Easter shape, like an egg!
3D Egg
This illusion is like the first one but a little bit harder. You will need the same items as the one above with the addition of a ruler.
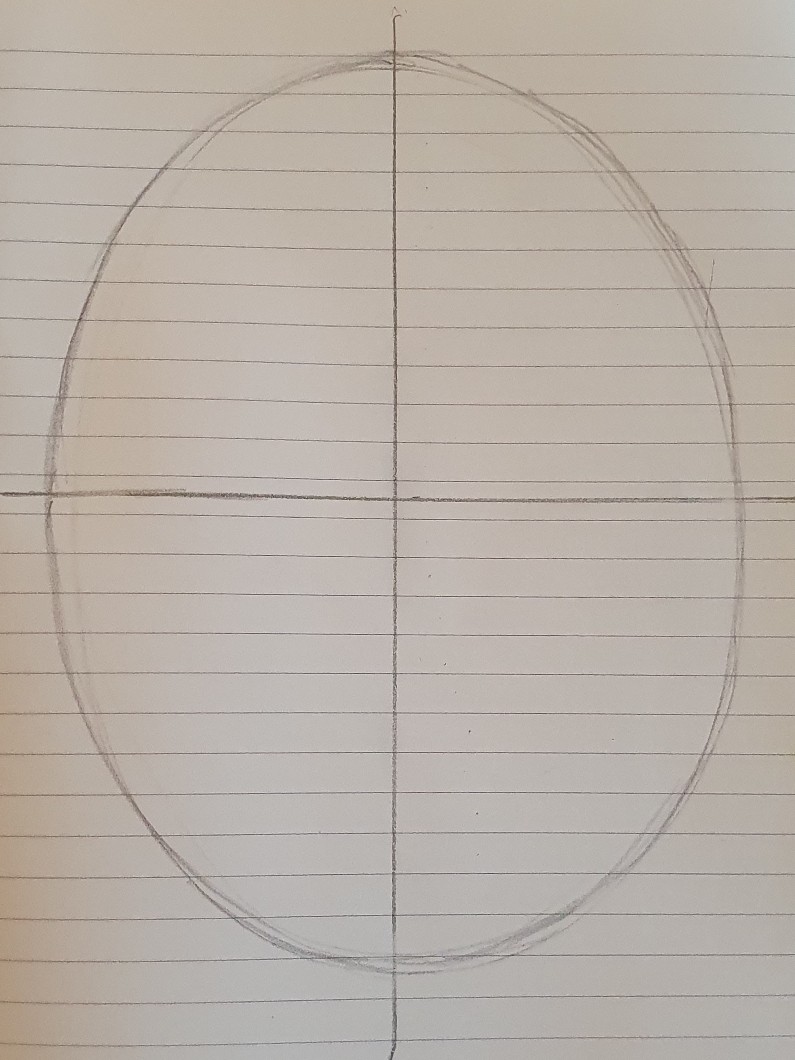
1. Start this one by drawing a vertical and horizontal line in the centre of your page, then draw a large oval
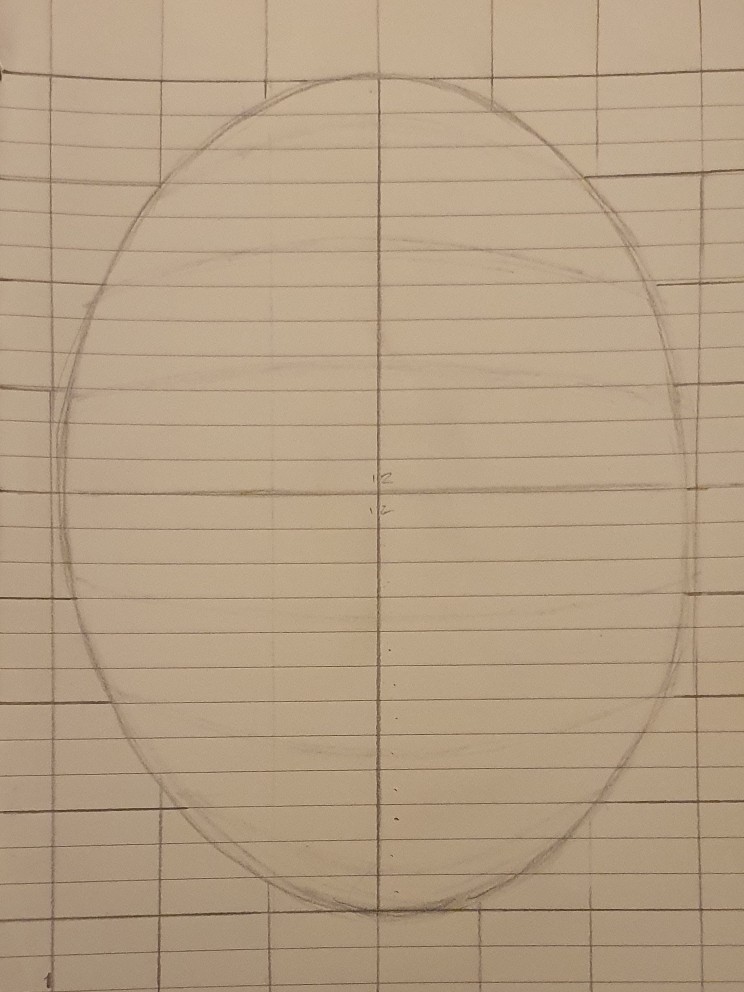
2. Then add vertical and horizontal lines around your oval/egg
3A and B. Add curved horizontal and vertical lines within the egg to meet with the lines around the outside
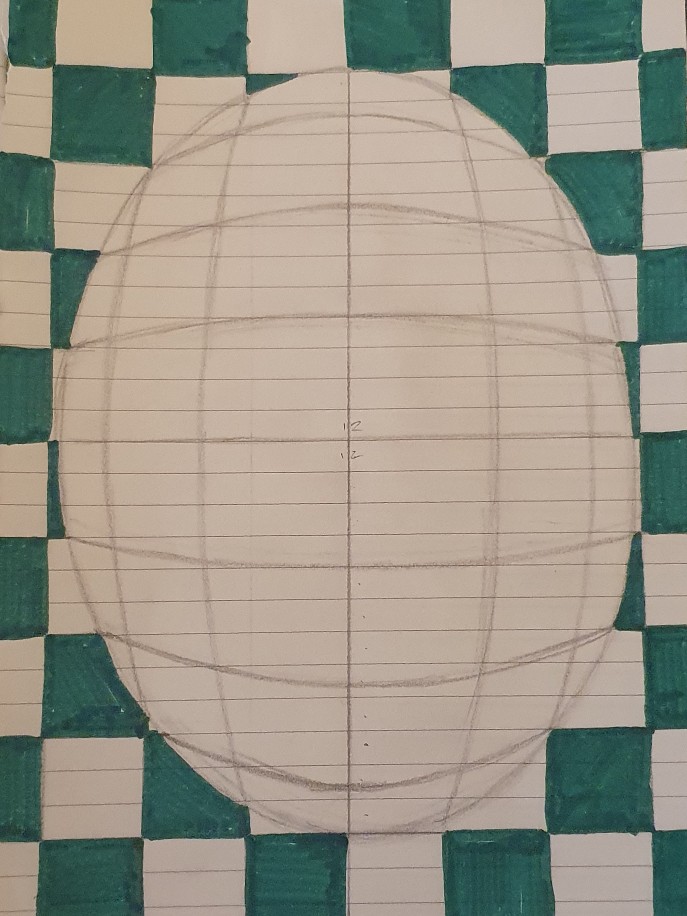
4. Colour in every other square in the background
5. Then colour in every other square within the egg, and you’re done!
1. 2.
2.  2a.
2a.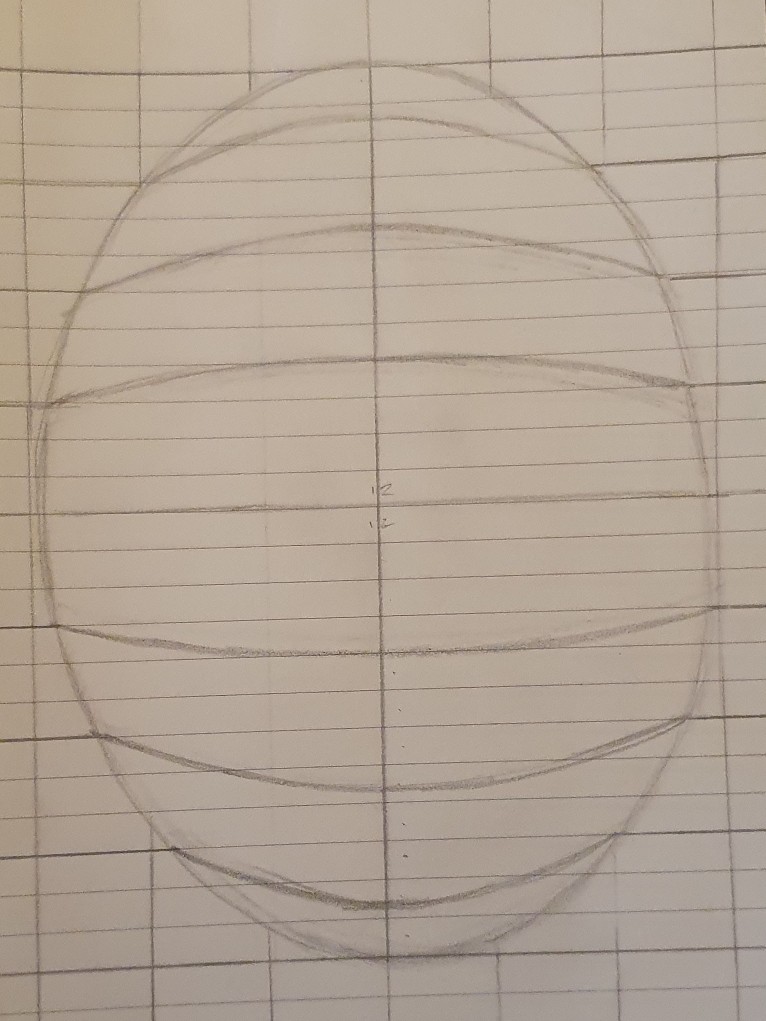
2b. 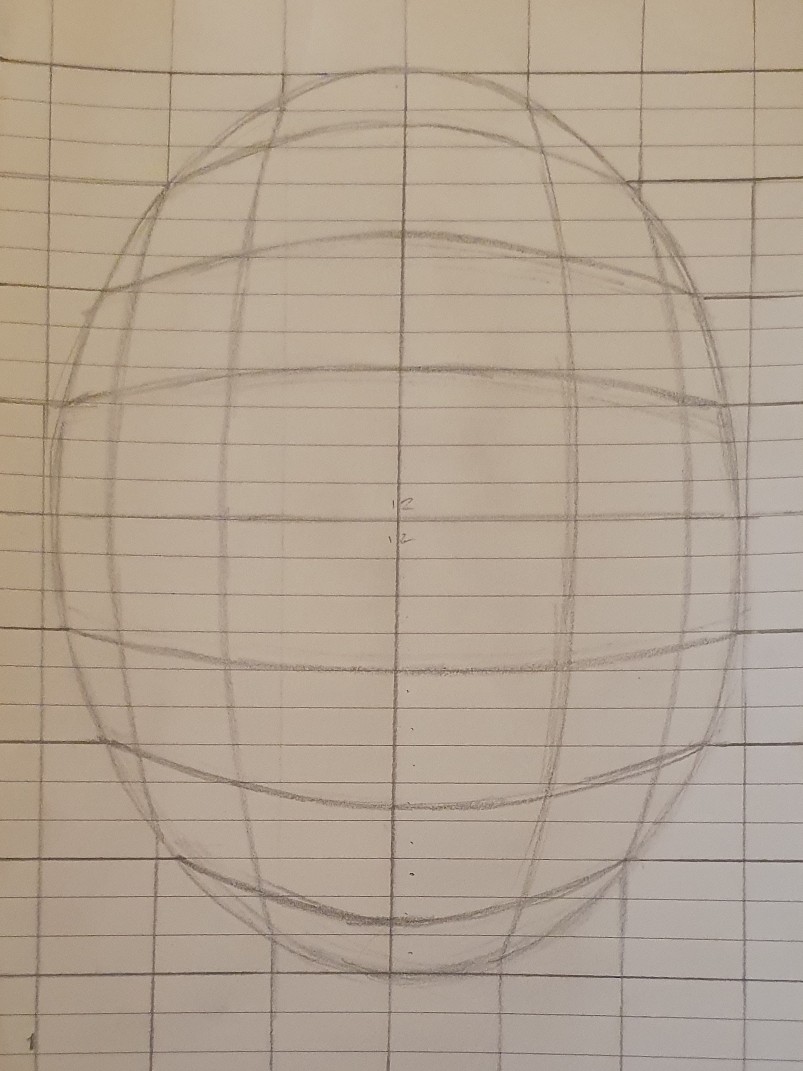 3.
3.  4.
4. 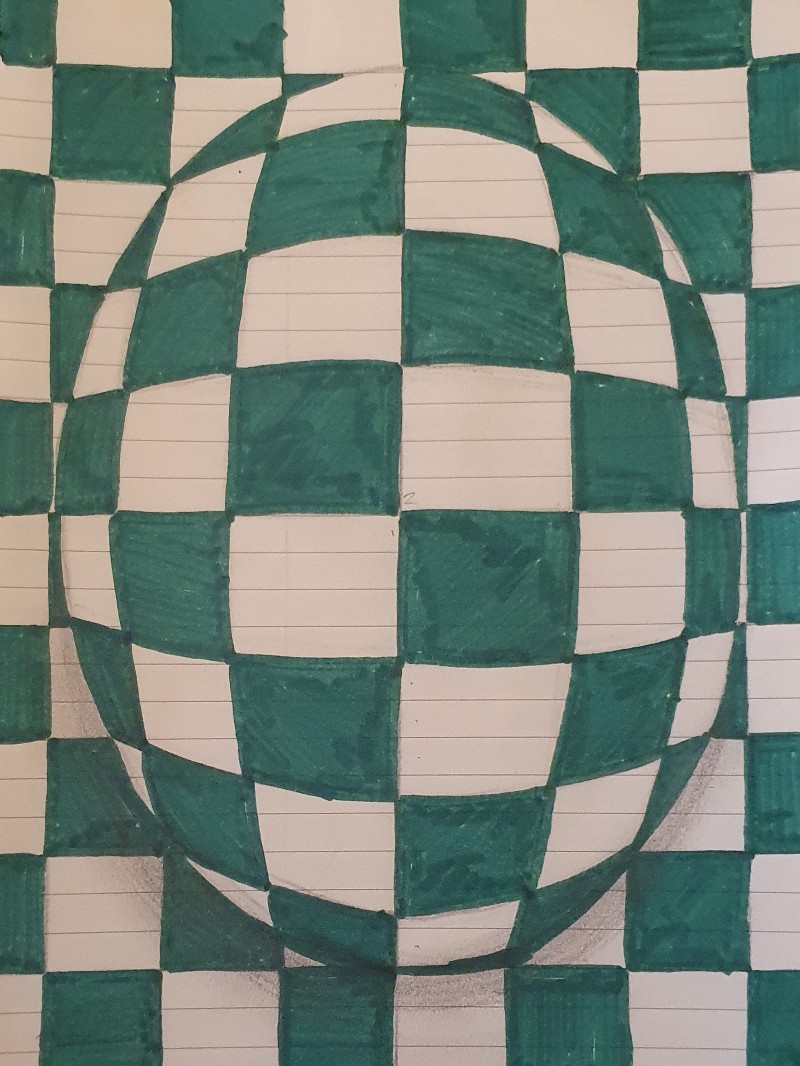
If you want to carry on and colour in the other squares, that will add more contrast and adding a bit of extra shading to the bottom of your egg makes it appear even more 3D.
Chick in an egg!
This next optical illusion lets you turn two pictures into one!
You will need a piece of white card, pencils or colouring pens, something that will work as your spinner (pen, pencil, straw etc.), scissors and glue or sellotape.
- Cut out two squares from a sheet of white cardboard.
- On one of the squares, draw the top half of a chick, and on the other half, draw the bottom half of an egg. (see example below)
The two pictures need to be on the separate squares of the card so that when attached around your spinner, they will appear as one picture when spun. It can be a bit tricky to get the alignment right, so keep it simple.
- Glue or sellotape your spinner in between the two pictures
- Hold the spinner between your palms and rub your hands to make the picture spin around and watch as the two images become one!
When you spin the pencil, your brain sees one image first and then the second image before it finishes processing the first, so you see two images at the same time. This effect is called persistence of vision.
The Bunny that follows you
This next illusion is a real mind-bender, and we have made a template for you to colour, cut out and create. Though usually a dragon, we have specially created a cute bunny template for you to try out for Easter. This illusion seems to turn its head and follow you as you move across the room.
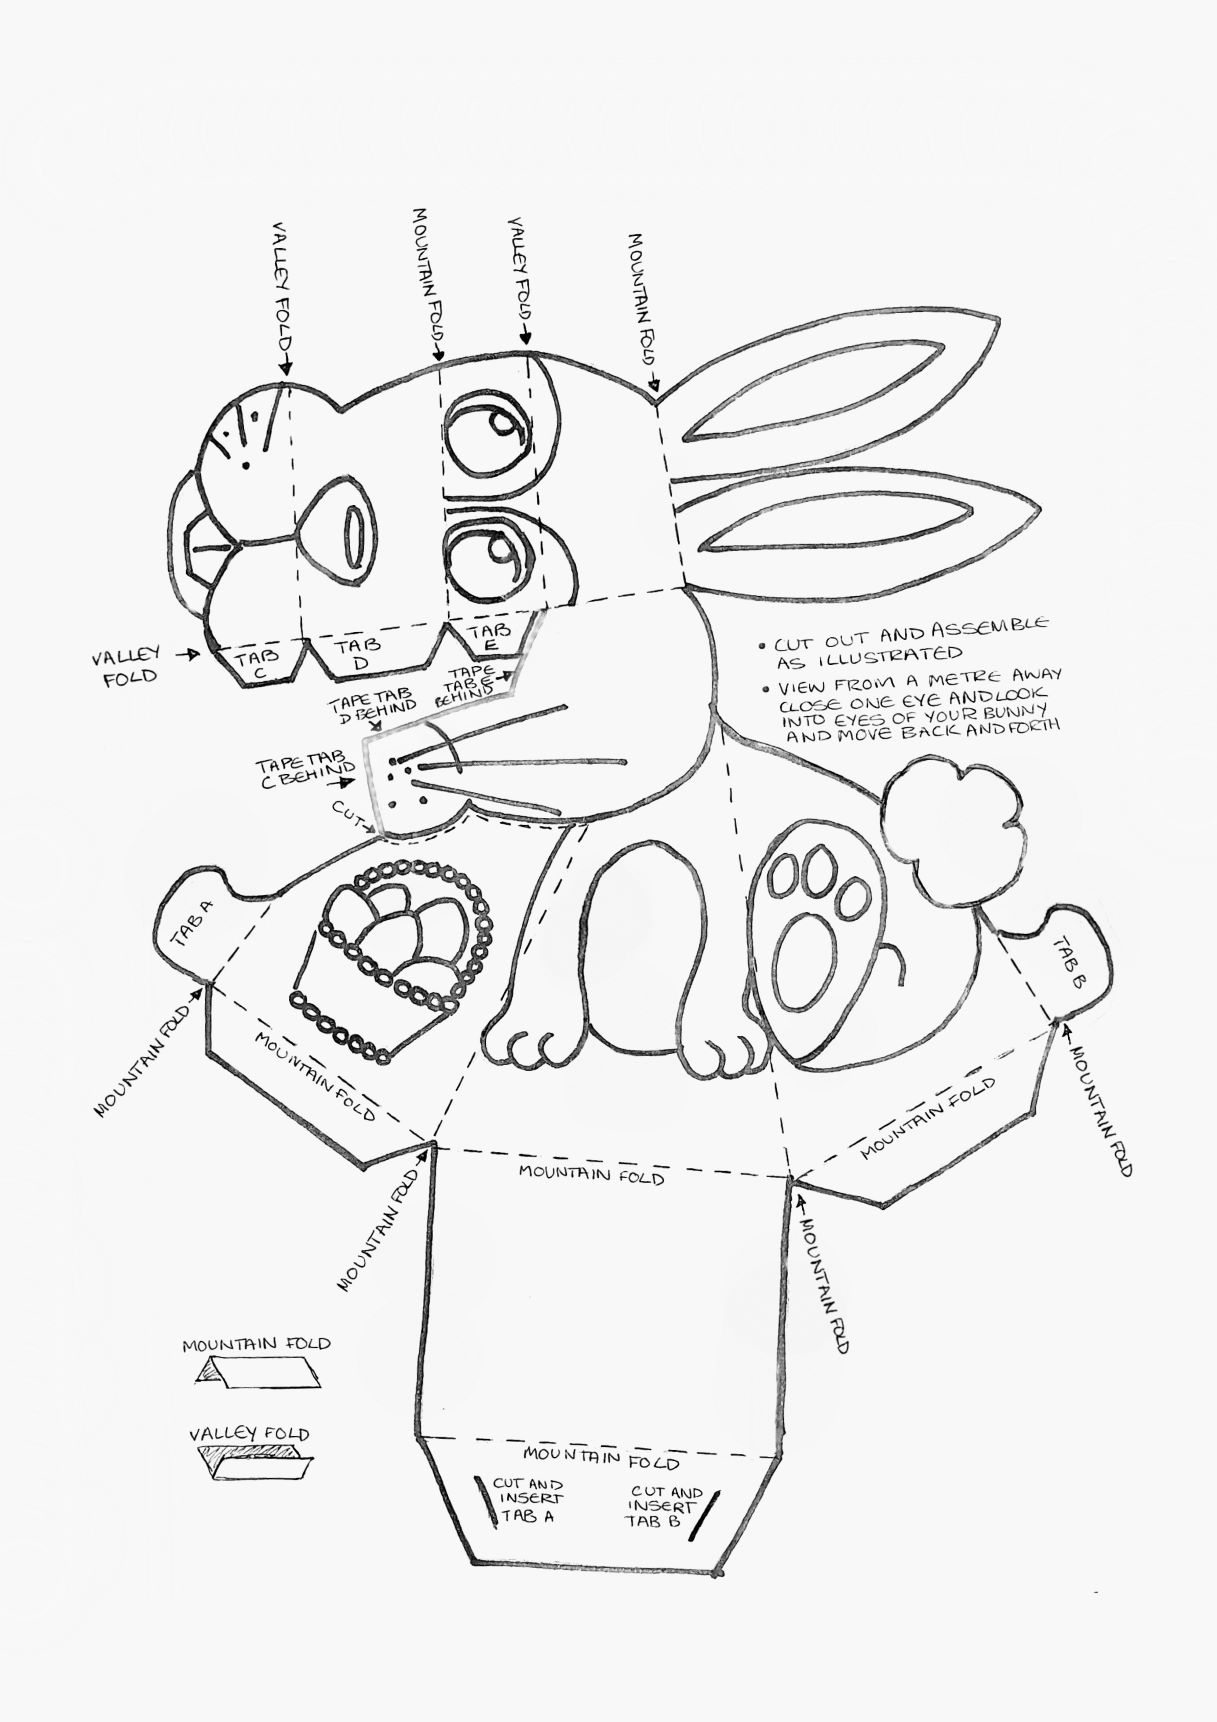
The key to how this illusion works is how your brain perceives perspective, specifically convex and concave shapes, coupled with its ability to recognise face patterns (pareidolia)
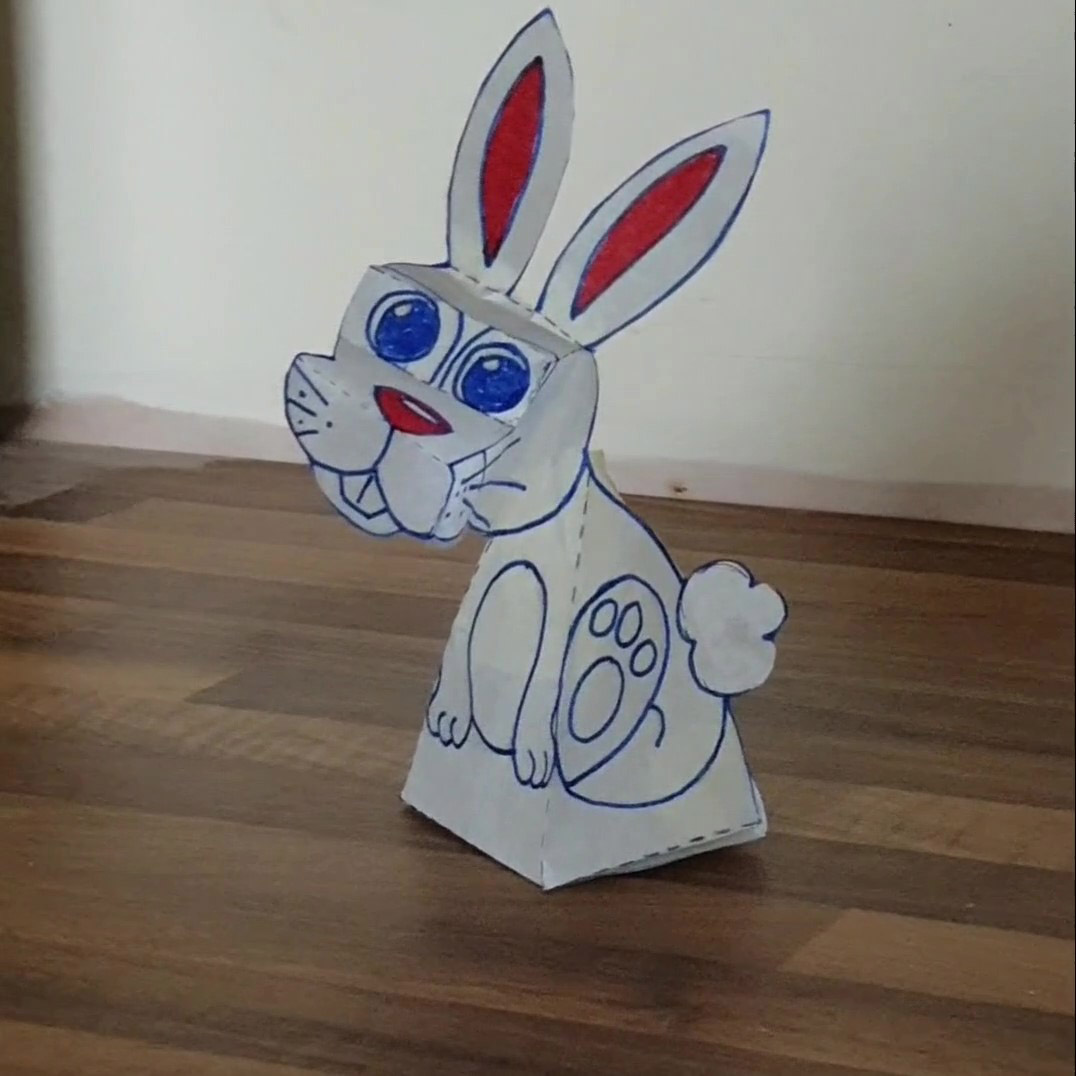
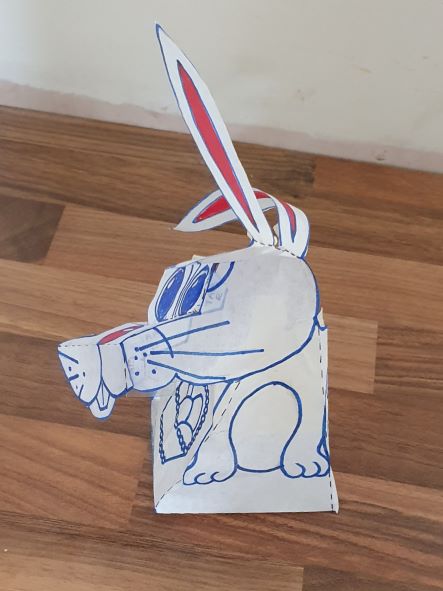
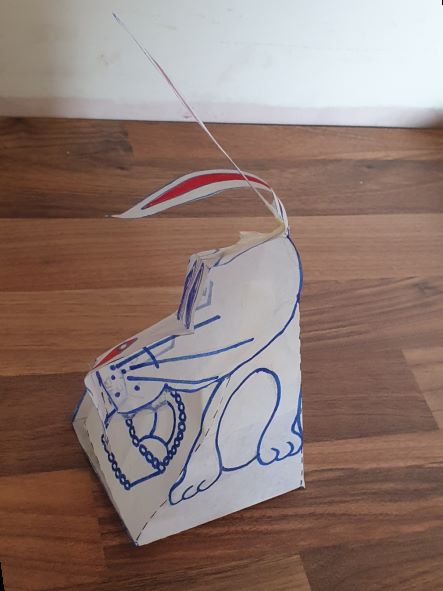
With this illusion, the face is concave, meaning the sides of the head curve towards you from the centre. As this is a contradiction to the way you would normally see a face, your brain attempts to correct it by trying to make the face the right way round, causing the illusion that the face turns as you move.
Follow our socials to keep up to date. Facebook, Twitter, Instagram, TikTok.